

I’ve never really been a big fan of black furniture, until now. This dresser makeover has got me feeling all kinds of new love for black. Black is back and I think it’s ready to party…at my place. Or at least I am. Especially now that this dresser is finally done!
We spotted the piece at Goodwill last month and jumped on it! (not literally :)

It was in great condition with only a few little dings, and it was solid and sturdy as heck. Most importantly, it had gorgeous lines and really lovely little details - the perfect candidate for a makeover :)


It was in great condition with only a few little dings, and it was solid and sturdy as heck. Most importantly, it had gorgeous lines and really lovely little details - the perfect candidate for a makeover :)

Before starting, I decided to replace the outdated hardware with some new knobs. The old screw holes were 5 inches apart, and handles that size would’ve been too chunky. So I measured out new holes using an IKEA drill guide, and my husband drilled them. He wouldn’t let me watch though, because I’d allegedly start obsessing over them being perfectly centered :)

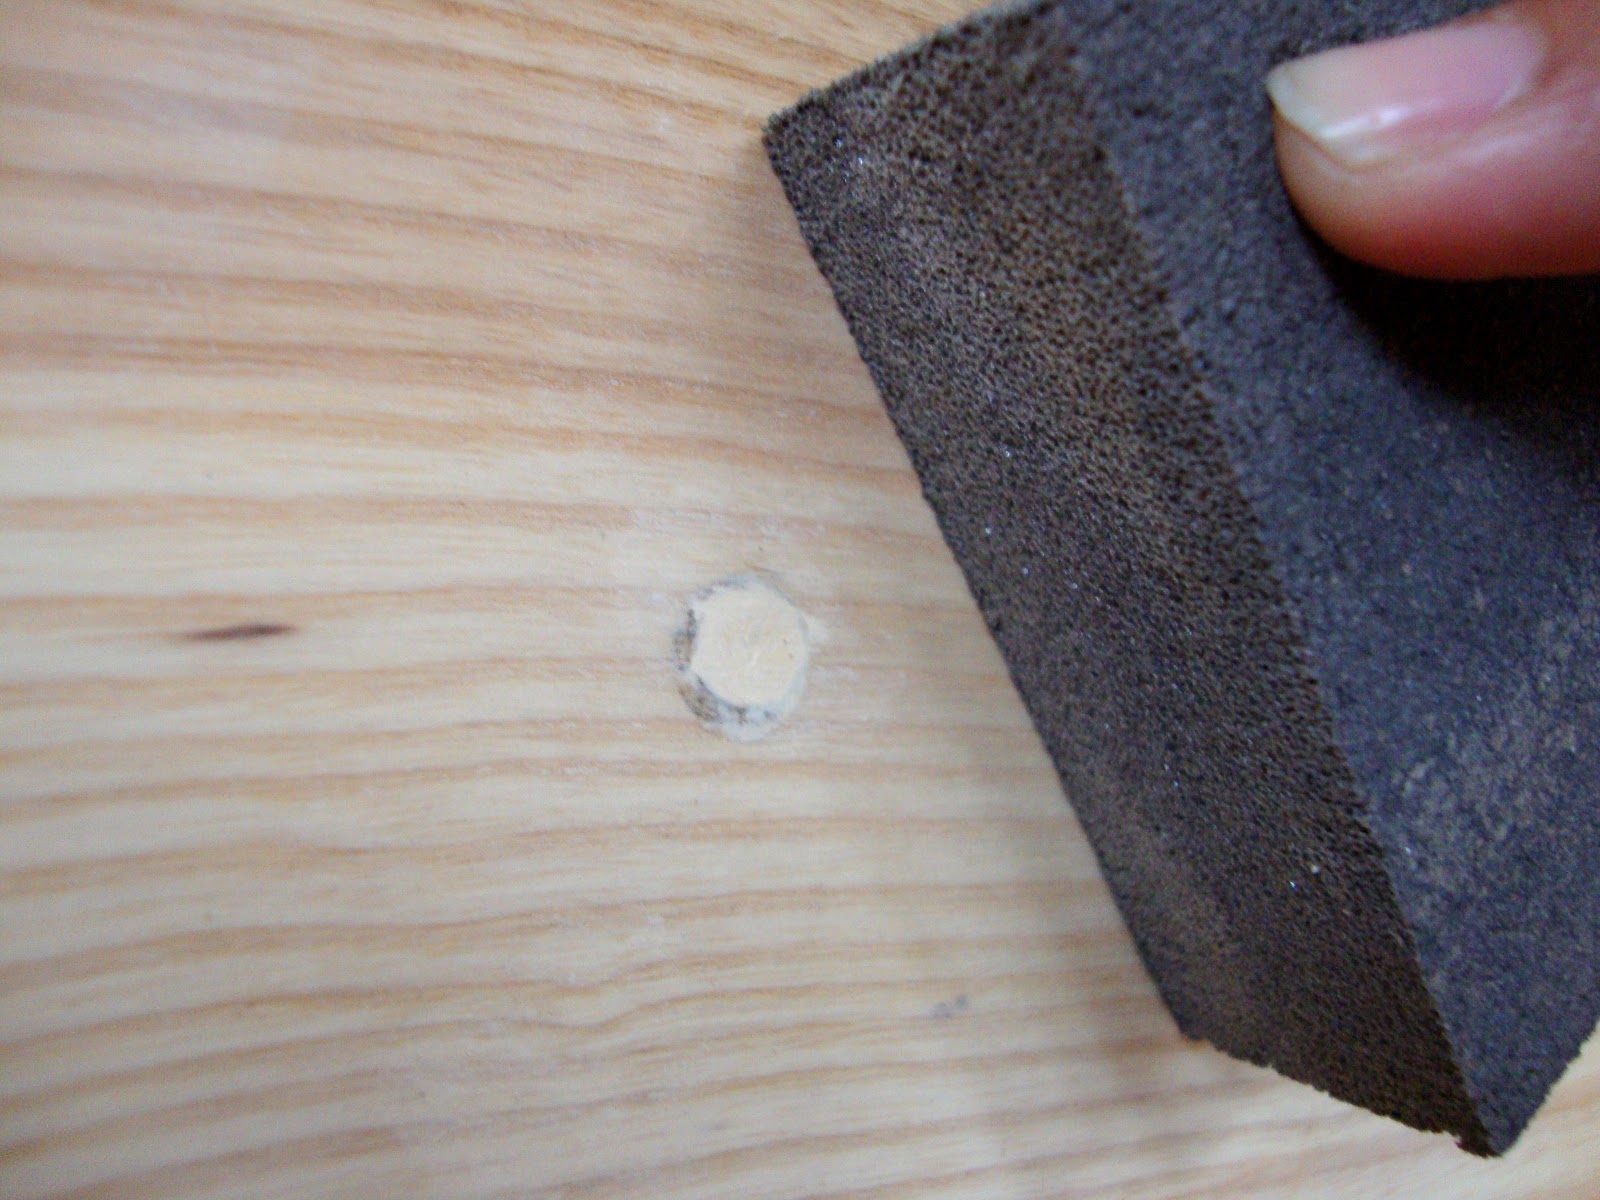
Then we used a couple layers of our trusty wood filler to fill the old holes, and sanded them down smooth.

Then the dresser was ready to be primed and painted! I used the Zinsser Cover Stain primer again, and for the paint I chose a deep onyx.
Everything was going well until I was several coats in and hating the dresser top. It was super patchy, not the elegant finish I was going for. I tried another coat or two and only made it worse! I ended up stripping the whole top down and starting fresh, which you can read about here. Once it was stripped to the bare wood, I was able to get it right. The primer went on like a dream, and it was much easier to paint an even finish. Taking the time to prep the surface made a world of difference. I also learned the hard way that applying a second coat too fast will not be pretty!
Lots of bumps along the way in this project, but I'm absolutely loving the finished product!

Lots of bumps along the way in this project, but I'm absolutely loving the finished product!

I thought about splurging on crystal knobs, but then we found these beauts on clearance at Canadian Tire. I love how classy and elegant they are, and they look fabulous against the black!

I always thought black was too stark, but I have to admit it's just so sophisticated and timeless, and on this piece it makes the woodwork details stand out so much more. And those knobs are the icing on the cake! (Mmm..I could go for some cake.. :)
Here’s another before and after shot:


This project ended up being a lot of work, but it was totally worth it! And I (hopefully) learned a lot along the way. The dresser cost us $48 at Goodwill, the knobs about $14, and I’d estimate another $30 on supplies. A high class makeover for under $100!
Sharing this project at: The DIY Project Parade, Masterpiece Monday, Creative Bloggers Party & Hop, Nifty Thrifty Tuesday @ Coastal Charm, Tuesdays Treasures, Twice owned Tuesdays, Trash to Treasure Tuesdays, A Pinteresting Link Party, Piece of Work Wednesday, Good Life Wednesdays, Pinspirational Thursdays, Transformation Thursdays, Hooking up With House of Hepworths, Coffee and Conversation Thursday, Remodelaholics Anonymous, The Best of 2011, January Before & After Party,


